Tuesday, August 28, 2012

An Eggplant and Tomato Pasta

I bought some lovely Japanese eggplants at one of our local farmers markets, Homegrown Alabama last week and made this tasty and healthy pasta with them last night. This recipe is riff off of a pasta dish that I've seen mom make but with a few changes of my own, mainly because I couldn't remember exactly how she made it and didn't want to bother her with constant phone calls during suppertime.


Ingredients:
3 eggplants
3 tomatoes
2 cloves of garlic
2-3 tablespoons of extra virgin olive oil
1 box of whole wheat rotini pasta (less can be used)
parmesan cheese to be grated
salt to taste

Warm the oil olive and chopped garlic in a pan over low heat.

Chop the eggplant into roughly bite-sized chunks. The eggplant will draw up some as it cooks, too, so no worries about too terribly precise chopping skills. We're going for a rustic look anyway, right?

Add the eggplant to the olive oil and garlic, and saute for 15 minutes over medium heat. I salted the eggplant at this stage and again at the end after adding the tomatoes.


Chop the tomatoes into slightly smaller chunks. This size will keep the tomato skins from being too large and overwhelming in one bite. I am just not into the peeling tomatoes, but I guess you could, if you don't like the skins.

After 15 minutes of cooking the eggplant, add the tomatoes, reduce the heat to low/medium, and let the tomatoes simmer and mix with the eggplant for 10-15 minutes. In the last few minutes of cooking the eggplant and tomatoes, grate as much parmesan as desired over the dish and stir.


After adding the tomatoes, begin heating the pasta water to a rolling boil. I always add a touch of salt to the water.

Add the pasta and boil for 8-9 minutes or until you get the consistency that you prefer.

Drain the pasta and mix with eggplant and tomatoes. More parmesan can be added here if desired.


The pasta to veggie ratio was a littler higher than I would usually prefer, but this dish made for a healthy dinner that satisfied my desire to incorporate more whole grains with my love for fresh, local vegetables. The eggplant brings a hearty texture and tangy bite to the dish, while the tomatoes lend taste and help bind the dish together. Choosing the rotini rather than my regular angel hair pasta seemed to work well with the size of the the eggplant and tomatoes.

Even Steve, a fried-anything, more-calories-the-better meat-eater, enjoyed this dish, so the next time you find yourself wondering what to do with a few eggplants, try this out and let me know how it works for you.

Enjoy, y'all!

Saturday, August 25, 2012

A Peach Pie

Peach pies are one of my favorite summer desserts. The combination of fresh, sweet peaches and a buttery crust could make anyone smile, but in my family that taste takes us back to long summer days by the water at the lake house in Chilton County, Alabama, the home of the best peaches in the South.


A few years ago, I came home from the farmers market delighted that I had found Chilton County peaches and ready to make a pie, but I quickly realized that I had only ever made crust in a food processor, a kitchen appliance that my tiny grad school kitchen does not include. I immediately called mom, and she reassured that this was not an impossible task and crust had been made long before the food processor was invented. With her ingredients list and over-the-phone guidance I learned how to make crust with two knives and a fork. It works surprisingly well and makes quite a crispy, buttery crust.


The Crust:
2 cups of AP flour
1/4 teaspoon of salt
8 tablespoons (1 stick) of cold butter
4 tablespoons (1/2 stick) of cold margarine
5 tablespoons of ice water


Combine the flour and salt in a large mixing bowl.

Cut the butter and margarine into single serving sized pats. It is important that the butter and margarine have just come out of the fridge because chilled butter holds its consistency when cut into the flour.


Take two knives and cut the butter and margarine into the flour, starting with the knives crossed and pulling towards the edge of the bowl. This action cuts the butter into smaller pieces and binds the flour to all sides of the butter.


After about 5 minutes of cutting when the butter looks like large pebbles in the flour, take the fork and mash the butter and flour through the tines to further incorporate the mixture. This will also cause butter to build on the fork. Use a knife to scrape off the build up and keep mashing. In between mashing, move the fork around the wall of the bowl, making sure that all of the flour is incorporated. The mashing step is complete when the mixture looks like coarsely ground corn meal (see photo below).


Now add the water a tablespoon at a time, first mixing with the fork and then kneading with your hands. The ice water helps the mixture come together without completely incorporating. 


You should be able to see swirls of butter in the kneaded crust. These swirls make the crust flakey and buttery without density, so don't over knead.

If you are using a round pie plate, separate the crust into two equal sections, wrap them separately in plastic wrap, and put them in the fridge for at least 1 hour. There is no need to separate the crust if you are making a larger cobbler that will only have a top crust. 


Side note: I use this pie crust for most of the pies that I make, and if I am making a pie that only requires the bottom crust, I put the other crust in the freezer and save it for the next pie or quiche.


The Peach Filling:
7 to 8 peaches peeled and sliced
1/2 cup of sugar
2 tablespoons of cornstarch
2 tablespoons of butter

Slice the peaches, and mix in the sugar and cornstarch.


Roll out the bottom crust.


I use this folding technique to move the pie crust to the pie plate without stretching or tearing the crust.


Place the crust in the pie plate, pour in the peaches, and slice the butter on top of the peaches.


Roll out the top crust and arrange it on the pie. The look of the top crust is completely up to you. I normally cut strips and make a lattice top, but a one piece top crust works just as well as long as you cut slits for the steam to escape.

Place the pie plate on a cookie sheet and bake at 350 degrees for 1 hour or until bubbly. Keep on eye on the crust, and if it is taking longer for the filing to bubble cover the edges of the crust with tin foil to keep them from burning.


Steve and I celebrated the first day of classes with peach pie. It was a nice way to end the summer. Hope y'all enjoy the recipe!

Wednesday, July 25, 2012

A Baby Boy Daygown


I have quite a few friends who are expecting babies in the upcoming months, so I have focused the little bit of sewing that I've been able to do this summer on baby gifts. In June, Steve and I headed out on a long road trip. Since I wasn't doing any of the driving on our trip, I had Mom pleat me a few daygowns and bonnets, so I could get some smocking done during our long hours in the car. Smocking is perfect for road trips because it is handwork that requires only a few supplies that can be thrown in a small bag (DMC thread, a few needles, a pair of scissors, the garment, and instructions).


The first project to be finished was this baby boy daygown for a family friend who is expecting her first child. I smocked simple baby waves in the front of this daygown. The sleeves are also smocked, which gathers fabric to create a cuff and works much like elastic does but with a cleaner look. After I finished smocking, mom put the daygown together for me, and I took it to the baby shower this past Sunday.


I recently rediscovered Instragram and couldn't resist posting this
one of the daygown,

The pattern used is a The Smocked Baby Daygown pattern by Collars, Ect. Pattern Company.  See the pattern here.

Mom also hemstitched, crocheted, and monogrammed a matching blanket.

A note about learning to smock: Mom designs smocking plates, so I grew up watching her smock and wearing smocked dresses almost every day, but with Mom being so talented with smocking and much faster at it than I could ever be, I had little motivation to learn until family and friends my own age started having children. I then realized that I wanted to be able to share the handsmocked clothing that I grew up loving with this next generation. Starting out, I found that being lefthanded posed a little problem with learning stitches and following the instruction on the plates, but I sat across from mom (who smocks righthanded) and mirrored her stitches and now know how to read plates by starting on the opposite side from directed. I smocked my first daygown on a 2 day bus trip with 30 other college students, so I quickly discovered that smocking is much like knitting when it comes to getting into a rhythm that leaves you able to participate in the chaos around you most of the time. Maybe that's how mom managed to get some much smocking done when we were all little.

I have been working on my mother's smocking plate Molly's Collar and Bonnet for the bonnets. I will post about these bonnets and a few other smocking projects as I finish them.

Most of mom's smocking plates can be seen here. We're in the process of setting her up an Etsy store since she closed her store a little over a year ago, so check back for updates on that.


Sunday, July 15, 2012

A Fried Chicken Birthday Supper

If you asked Steve for a list of his favorite foods, I'm pretty positive fried chicken would be at the top of that list, so I knew fried chicken would be the perfect supper for this Michigan guy's first birthday in the deep South. I had a little bit of a problem though, I'd only tried my hand at frying boneless chicken once before, and they had tasted good but weren't too pretty. So, my mother kindly offered to stop by on the way through town and help me with my first experience of frying an entire bone-in chicken.

Steve's favorites: fried chicken, cornbread, mashed potatoes, and snap beans

With instructions from Mom, I bought the smallest pre-cut chicken that they had at Publix along with a galloon of buttermilk.
Soaking the chicken over night in
the refrigerator is best if you have time.

The night before, I put the chicken in a large bowl, covered it with buttermilk, and added 1 tablespoon salt, 1 teaspoon pepper, and quite a few dashes of tabasco sauce. I covered the bowl with plastic wrap and put it in the fridge until the next afternoon. Mom-wisdom says that soaking the chicken overnight is key to having moist fried chicken, and your choice of buttermilk or regular sweet milk determines the thickness of your crust. Buttermilk makes the thicker crust.

Let the buttermilk almost all of the excess
 buttermilk come off the chicken.
That afternoon, we removed the chicken from fridge and took each piece out of the buttermilk. Placing the chicken pieces in a stainer over the sink let the excess buttermilk run off the chicken. Mom warned that if there is too much buttermilk still on the chicken with it dredged and fried, the breading will side right off the skin.


Making sure the chicken skin is
 completely covered is key to a good crust.
When it came to dry ingredients for the dredge, we combined:
2 cups flour
1 teaspoon salt
1/2 teaspoon pepper

We took the chicken piece by piece and dredged it in the dry ingredients making sure to cover the chicken completely in the flour, so that the chicken skin was no longer visible. When the dry ingredients got too gummy from the liquid or more breading was needed, we simply added more flour, salt, and pepper in the same ratio.

After all of the pieces were dredged. We let them sit for 10 minutes, so the breading had time to dry out some, which made a crispier crust.

Chicken is ready to be fried

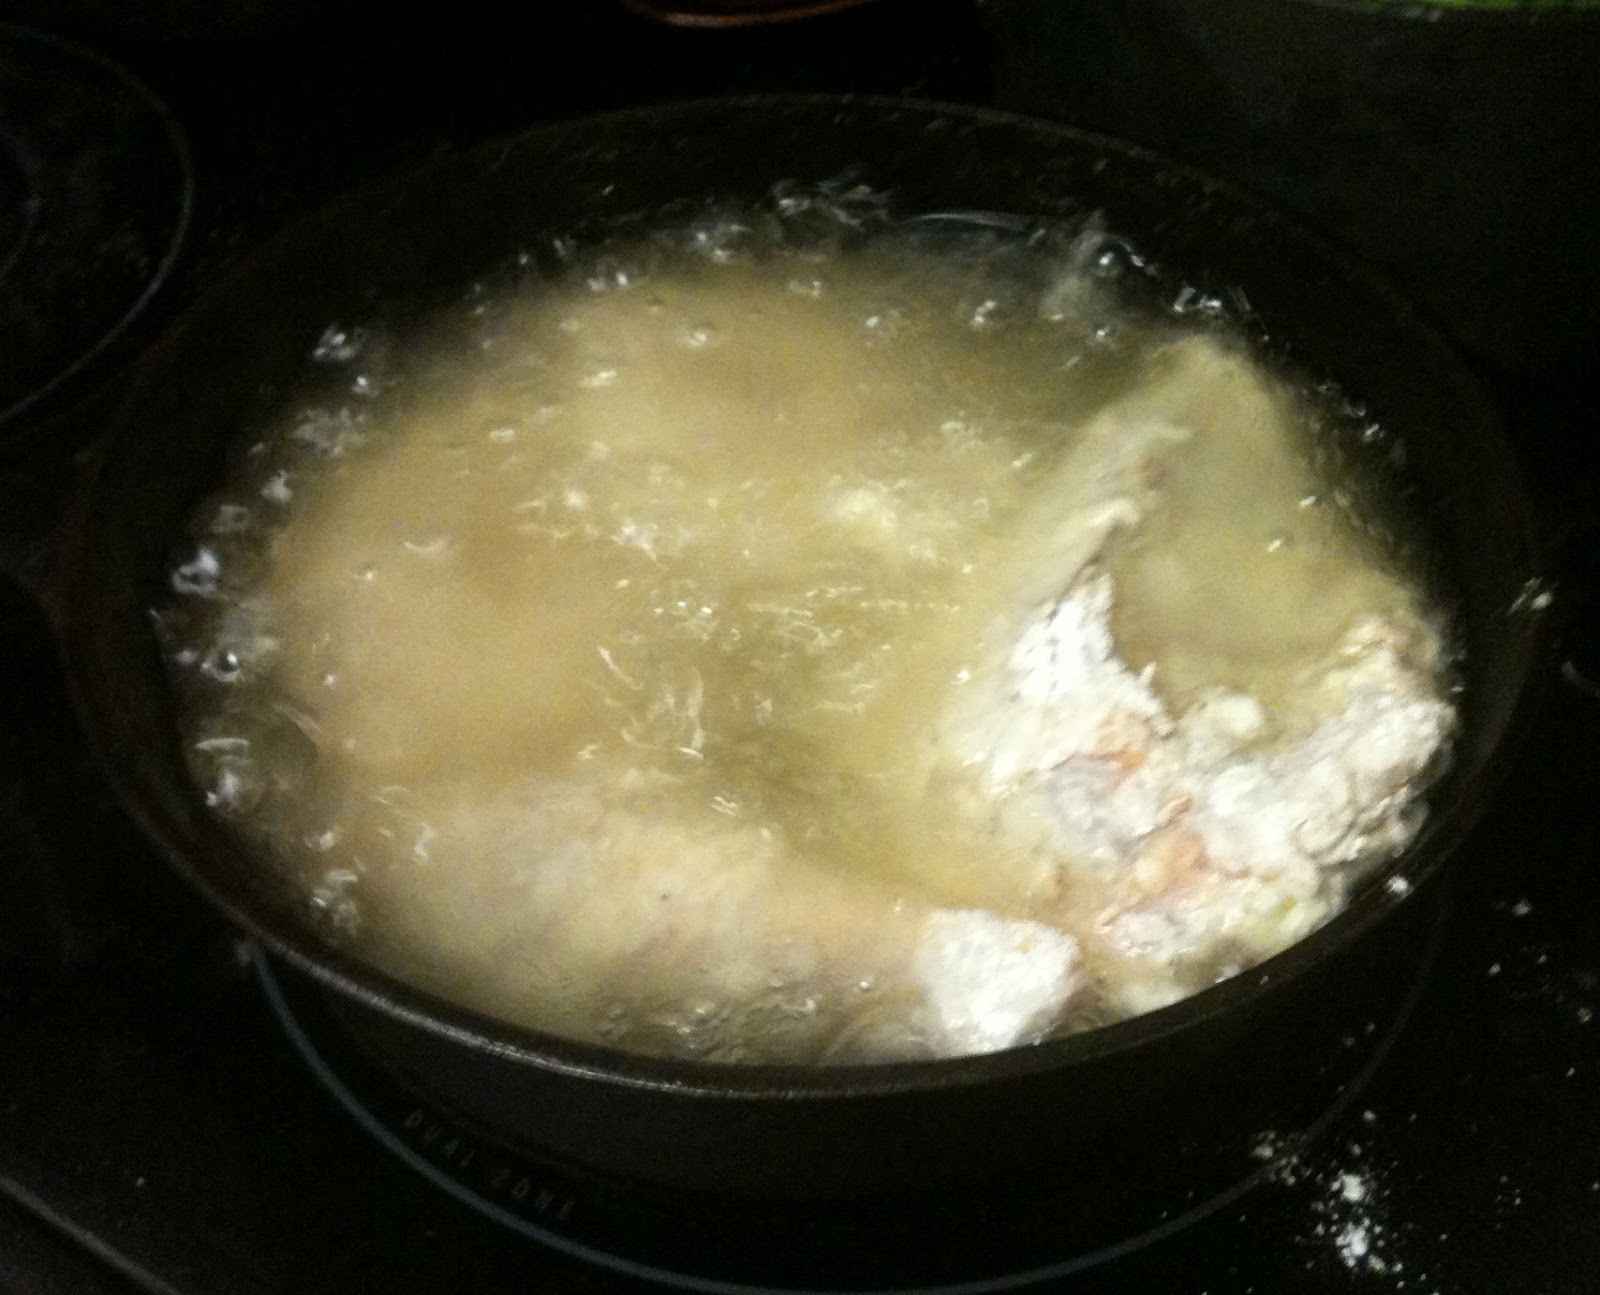
Of course I used my trusty cast iron dutch oven for frying the chicken. We used an entire  48 oz bottle of peanut oil and heated the oil to 360 degrees F on a cooking/candy thermometer. (If you do not have thermometer, you can test the oil with a tiny bit of water or flour. If the oil spits and bubbles when either is added, your tempature should be about right). We added the first batch of chicken which brought the tempature down to 350 degrees F, and we kept the tempature as close to 350 as possible throughout the frying process. We fried most of the pieces for 10 minutes on each side for a total of 20 minutes of cooking time, but the two breast pieces were significantly larger and took a total of 30 minutes to cook. 
 When the chicken is first added
After flipping the chicken 
The chicken is done when the internal temperature measures 170 degrees F for the breasts and 180 degrees for the other pieces.  

We removed the chicken from the oil and let it cool for a few minutes on a paper towel lined plate. 


It was a success birthday dinner that everyone enjoyed and a pretty fun time for my first experience frying an entire chicken (even the liver at Steve's request). 


I also made a deliciously decadent birthday cake using Martha Stewart's recipe for yellow butter cake and her chocolate frosting

Happy Birthday 26th birthday to Steve!

Sunday, April 29, 2012

A Roast, Snap Beans, and Smashed Potatoes with Gravy


It's the last week of the semester. I should writing a paper rather than a blog post, but . . . 

Mom left a 2 lb. roast in my freezer on one of her trips through town a couple of weeks ago with instructions to thaw completely, rub with garlic salt and pepper and cook in a 350 degree oven for an hour or until the meat thermometer registers 140 degrees. 

Partly due to procrastination and partly because I'm sick and wanted a mom-style meal, I took the roast out this morning to thaw and cooked it, fresh snap beans, and smashed potatoes with gravy for dinner tonight. All were successful, yummy, and not too time consuming on a night when I needed to be able to keep reading/writing during the meal prep. 


I apologize for not having process photos. I didn't think this would be a blog post meal because of time issues this week, but when it turned out well, I couldn't resist. 

To get started, I rubbed all sides of the meat with garlic salt and black pepper, popped it in the oven at 350, and let it cook an hour (30 minutes per pound). Easy? You bet. I let it cook 15 more minutes because the temperature didn't quite get to 140, but I probably could have taken it out at an hour. It would have just been a little rarer. I transferred it to a plastic cutting board and let it cool for at least ten minutes before cutting it. 


I boiled 5 largish red-skin potatoes in salted water for 30 minutes or until a fork easily released from the largest potato. I drained the potatoes and returned them to the original pot. Then, I slightly smashed them and added salt and pepper to taste, a tablespoon of butter, 1/4 cup of half and half, and a rounded tablespoon of sour cream. (shhh... Steve thinks he hates all things with sour cream, but he likes these potatoes.) I continued smashing the potatoes until the sour cream, butter, and cream were incorporated.


Around the same time that I started the potatoes, I threw the snapped snap beans in a pot with water and roasted vegetable paste and let them cook over medium heat for about 30 minutes. 


After the roast was finished and transferred to the cutting board, I placed the roasting pan with drippings over an eye on the stove and added 1 1/2 tablespoons of cornstarch and a sliver of butter. The cornstarch and butter stick to the drippings (I know this is an icky word, but isn't "fat" worse?) and cook over low heat for a minute. Then, I added 1 1/2 cups of water to the mixture and whisk it all together. I cooked this all over low/medium heat for 5 minutes or until it thickened to the desired constancy for gravy.


A note about gravy: We all know it's not the best thing for you, and, because of this fact, it was made only for special meals when I was a growing up. But Steve absolutely loves gravy, so I've tried my hand at it a few times this semester. It's not too difficult once you get the proportions of the oil, starch, and liquid correct, and it sure does taste good. 


Steve gives a thumbs up of approval


Happy Cooking!

Tuesday, April 17, 2012

A Lulu Sugar Cookie or Two

"Lulu"  is my mother's "grandmother name." And, even though she was making these cookies long before she became a grandmother, I find it a fitting name for her most loved and requested cookie recipe. They are a thin butter cookie with a simple icing that can be cut out and decorated in any shape desired. Growing up, we made these cookies for every possible holiday, bake sale, classroom party, and sometimes just because. We would pick what cookie cutters to use from a huge cookie tin full of them--bunnies, ducks, flowers, shamrocks, hearts, pumpkins, witches, stockings, stars, Christmas trees. Then came the icing, and Mom would spread out wax paper on all the kitchen surfaces and let which ever children were around ice and sprinkle 'til their hearts were content. I have even started making these once a semester for my classes because everyone needs a little sugar and cheering up after taking an exam.


While home for Easter a couple weeks ago, Mom and I made her sugar cookies for a few special people. Here's our process:


Lulu’s Sugar Cookies
Yield: 75 cookies
2 sticks butter (softened)
1 cup sugar
1 egg
1 teaspoon vanilla
3 cups flour 
1 teaspoon baking powder 
1/8 teaspoon salt
Combine butter and sugar in a mixing bowl. Beat with an electric mixer until foamy (at least 5 minutes). Add egg and vanilla. Beat well. Sift flour, baking powder, and salt together. Add to the mixture and beat well. 


After the dough is combined well, separate equally and form into two sections. Cover in plastic wrap and refrigerate overnight (I've gotten away with putting them in the freezer for 30 minutes or the refrigerator for 2 hours in a pinch, but it works best if you make the dough the night before). 


Take one section of dough out at a time and let it soften for 5 to 10 minutes. Pre-heat the oven to 350. Roll out the dough to roughly 1/8-1/4 inch thick. Cut out desired shapes.


Bake on a lined cookie sheet for about 10 minutes or until just the tiniest bit of light brown come up around the edges. 


Now for the icing: We we use a simple icing made of powdered sugar, water, and food coloring. It takes a lot less water than you think, so I recommend adding it by the tablespoon and stirring it into the powdered sugar completely before adding more. You want it spreadable, but not to thin that it runs off the cookie or too thick that it is hard for the kids to spread easily.  Make sure to use the sprinkles before the icing has completely dried. If you get the icing on the cookies while they are still warm the icing will dry shiny.


Try not to stack them on top of each other until the icing has completely hardened or it will smudge. I hope you enjoy the baking, decorating process, and, of course, the buttery, sugary cookie goodness.


Friday, March 30, 2012

A Mushroom and Green Pea Risotto

Mushroom and green pea risotto is another recipe I learned from helping my mother in kitchen. This dish takes constant stirring and attention, but the steps are quite simple. It is also very flexible. I used low sodium, fat-free chicken broth for all of the liquid, but part water or all vegetable broth can be substituted. The veggies are also optional and switchable.

the final product still steaming
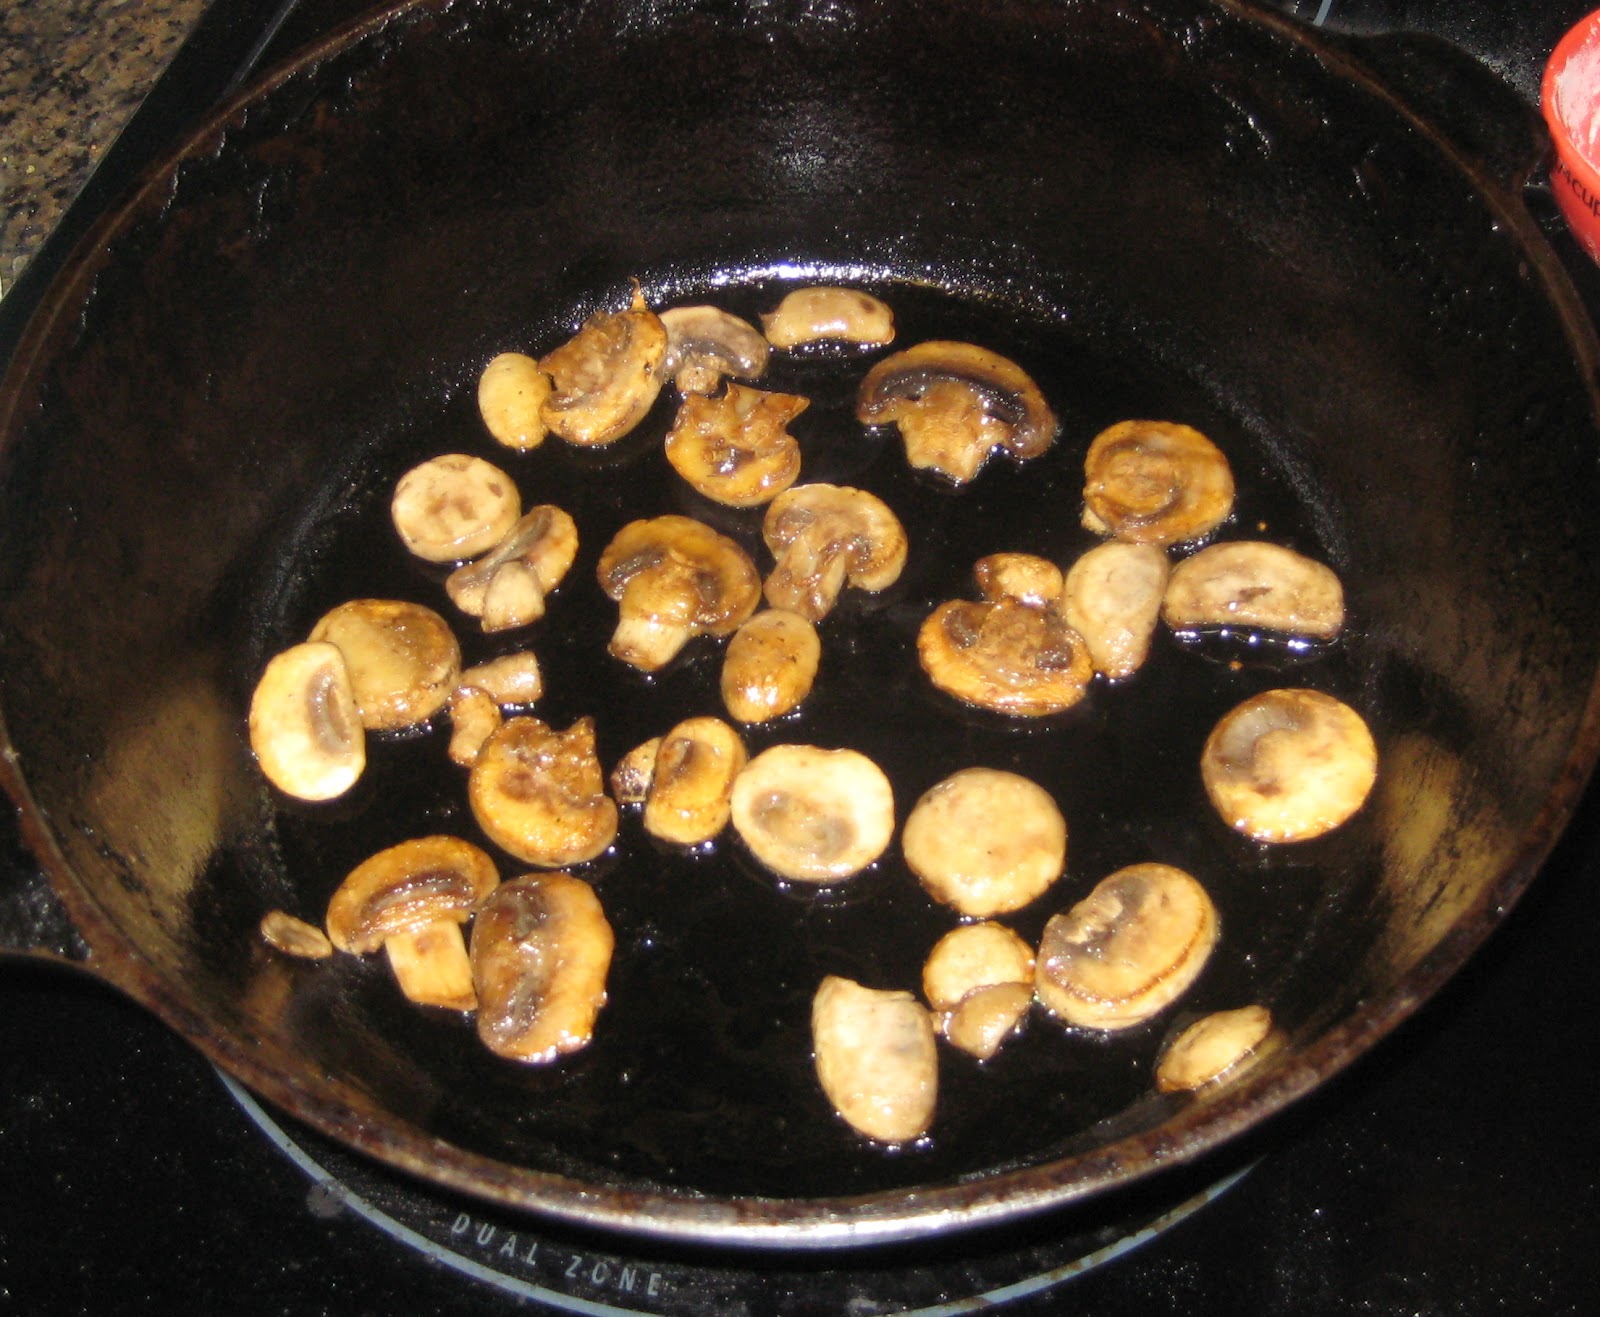
First, I sautéed the mushrooms in the iron skillet. I used a carton of sliced mushrooms. I added a thin layer of olive oil and cooked the mushrooms in rounds so they weren’t crowded.


While the mushrooms were browning, I roughly chopped half a sweet onion and began to sauté the onions in another pot with two tablespoons of olive and one tablespoon of butter over medium heat.


After about 15 minutes, I added 1 1/2 cups of arborio rice and let the rice cook with the onions for 5 minutes.


Then I added the first of 4 cups of chicken broth. This is when the constant stirring becomes key. I don’t add anymore chicken broth until the broth is absorbed into the rice enough that it does not seep past the rice when I run the wooden spoon through the middle of the rice. This is one of my mother’s tricks, and I am positive it is what made stirring risotto fun when I was younger, making a game out of knowing when to add more broth.

This is what it should look like when it is time to add more broth.
 After the first cup of broth, I add the rest in smaller increments as to not cool down the rice too much as it cooks. Heating the broth in a sauce pan before adding it to the rice also helps with this problem.

With the last 1/2 cup of broth, I incorporated the sautéed mushrooms and 1 cup of thawed frozen green peas into the rice and cooked the risotto for about 5 more minutes.

It's almost finished. Just five more minutes or until there is no longer standing broth at the top.
 I checked to see if it needed salt here because even though I used low sodium chicken broth. I didn’t want to add any salt until all of the chicken broth was in the dish. I added about a half tablespoon of salt and stirred it in. Then the mushroom and green pea risotto is ready to serve.

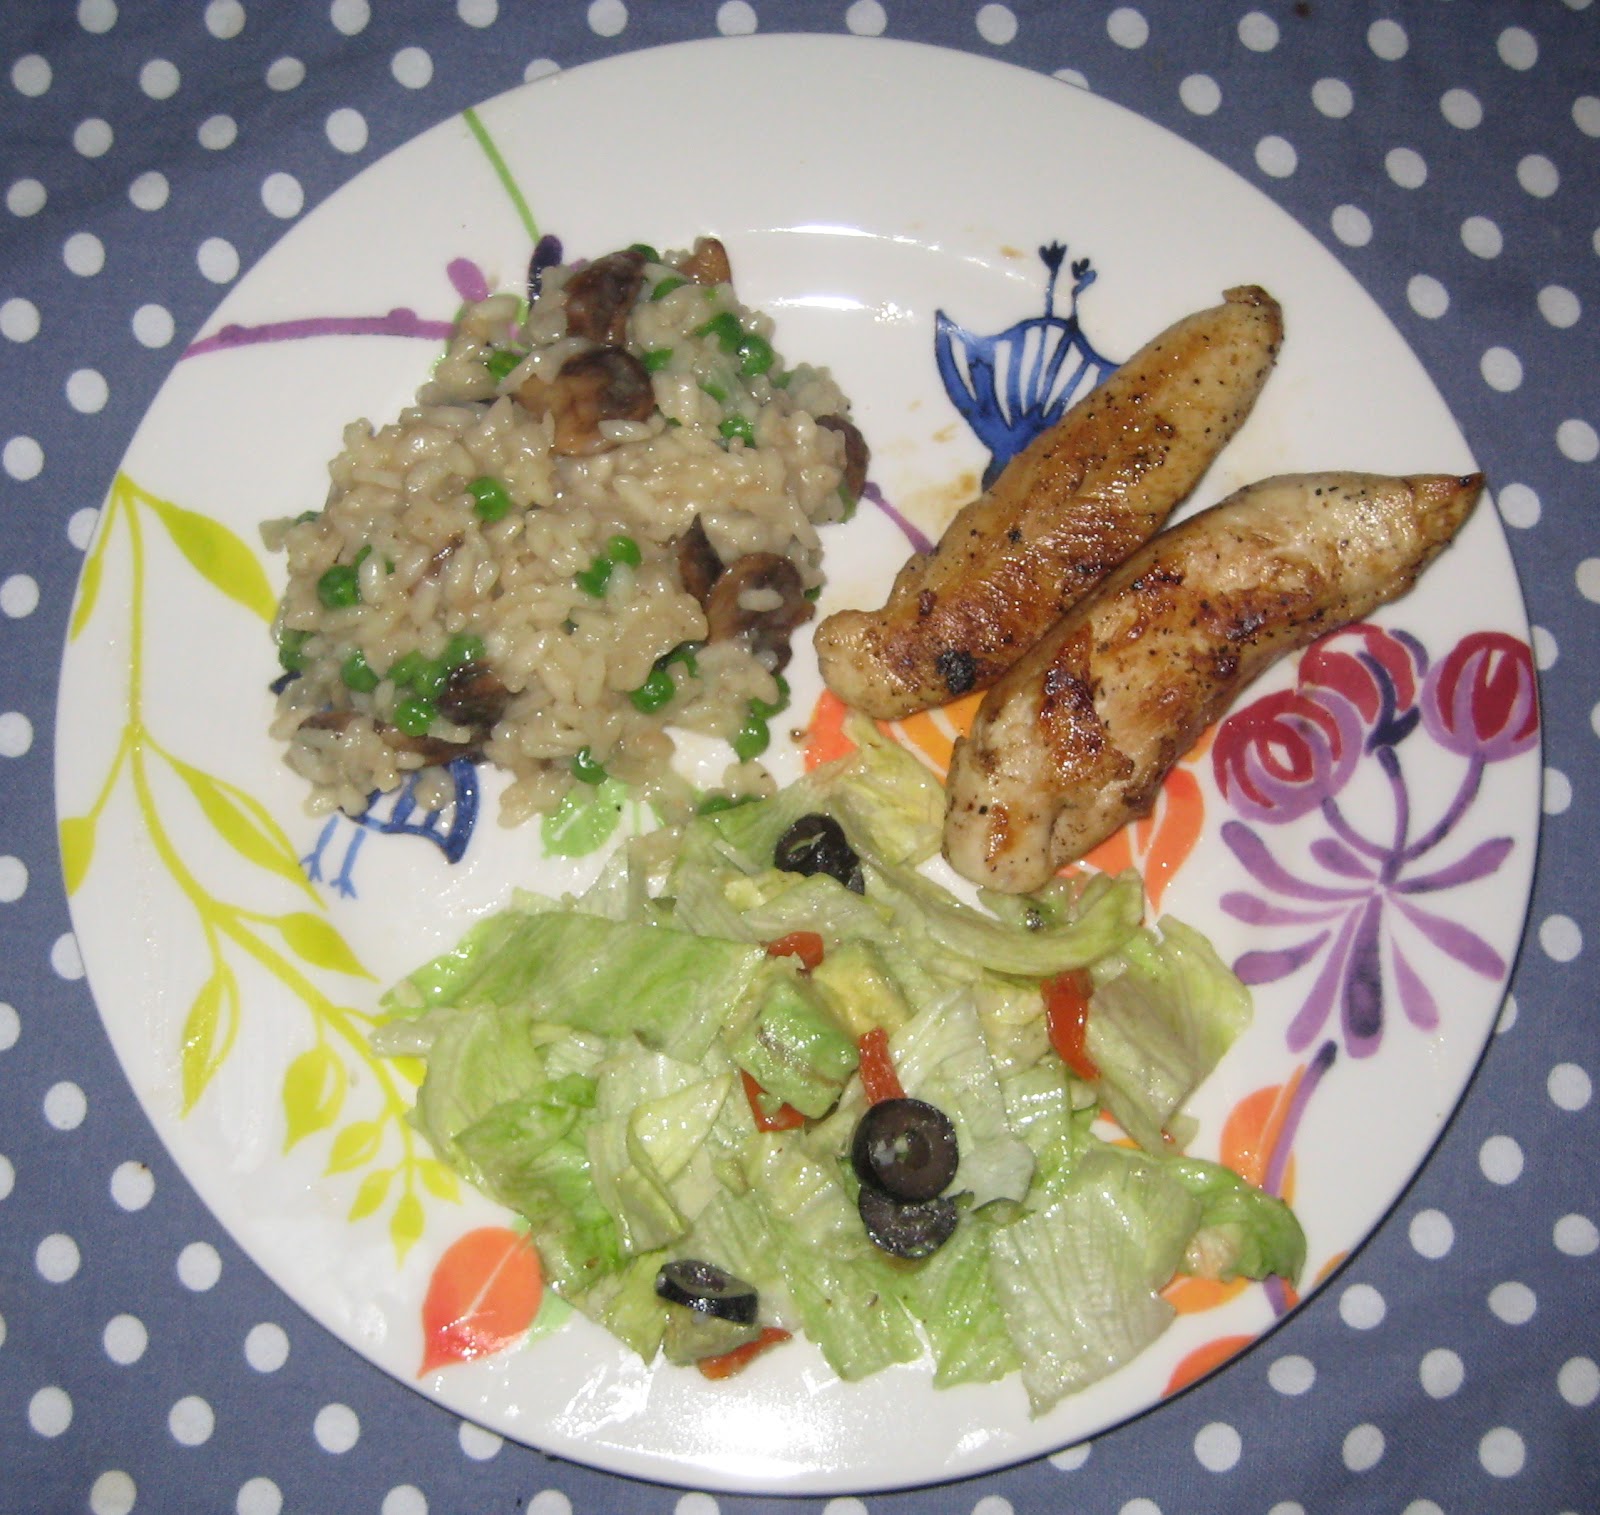
To go with the risotto, I made very simple grilled chicken tenderloins and a thrown together salad. I used only salt and pepper for chicken seasoning and cooked the strips in a thin layer of olive oil in my cast iron skillet.